Not seeing a Scroll to Top Button? Go to our FAQ page for more info.

The Quooker Boiling Water Tap

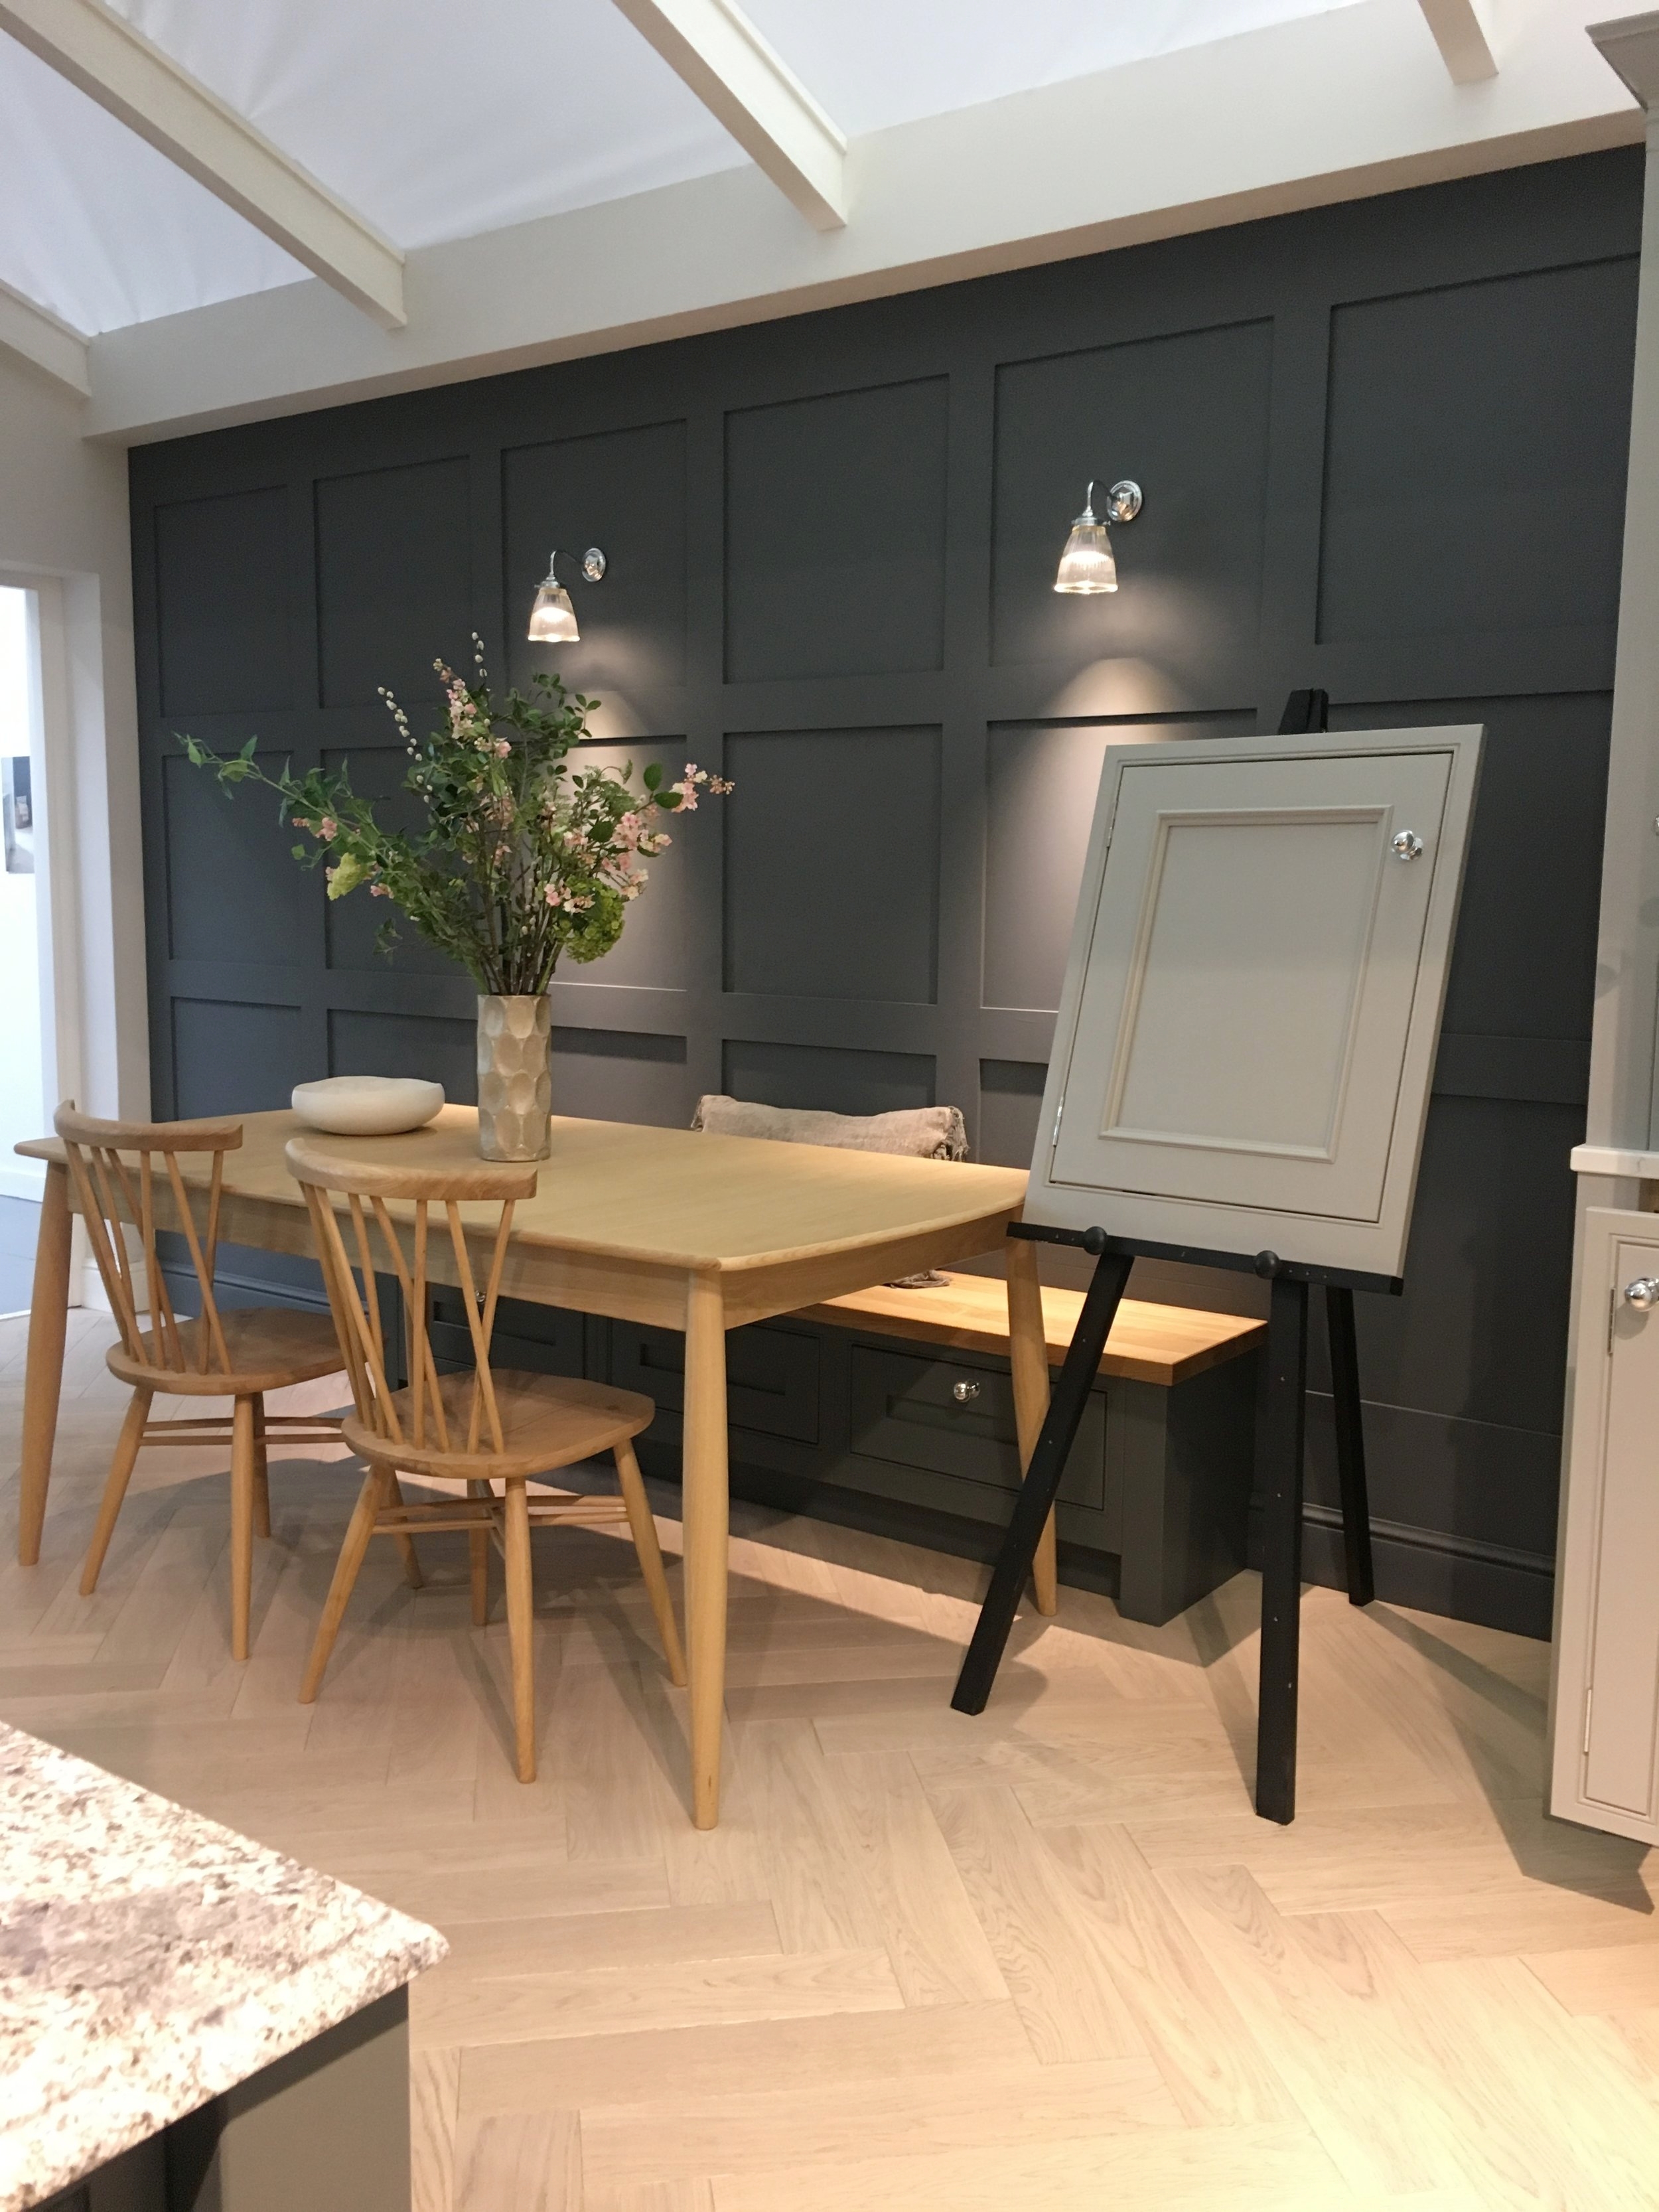
The Quooker flex tap is one of the IDEAS’ teams favorite kitchen products, an innovative and clever tap which saves money, water and makes a cup of tea in record time! The flex is the newest addition to the Quooker range combining a boiling water tap with a flexible pull out hose for easy cleaning around the sink. Once you start using the Quooker tap it is hard to imagine a kitchen without one, it eliminates the need for a kettle, therefore freeing up valuable workspace as well as having the option to provide you with filtered tap water.

Features

Did you know that the Quooker Taps are the only boiling water taps on the market that deliver your water at 100°C.There is a tap on the worktop and a tank underneath your sink to deliver you that perfect cup of tea everytime! You can choose to either have a separate Quooker tap next to your usual mixer tap or the Quooker flex/fusion which is single tap for hot, cold and boiling water. There is also the option to have a filtered water tank installed alongside your boiling water tank.

quooker-flex_nl_sla-700x400.jpg

Efficiency

If you are worried that the Quooker tap may be wasteful, think again! The high-vacuum insulation ensures that the Quookers standby usage is just 3 pence per day.  For an even more efficient tap choose a COMBI tank, an economical way to produce both hot and boiling water.

Safety

One of the questions about the Quooker is “Is it safe?”, the answer in short is extremely! Gone of the days of worrying about dropping the kettle, spilling it or scalding yourself with steam. The Quooker is fitted with a ‘push and twist’ child proof handle and insulated casing insuring it never feels hot to touch. The way the water is dispensed means the flow is more of a spray than a solid jet, giving you plenty of time to get your hands out of the way if the worst was to happen.

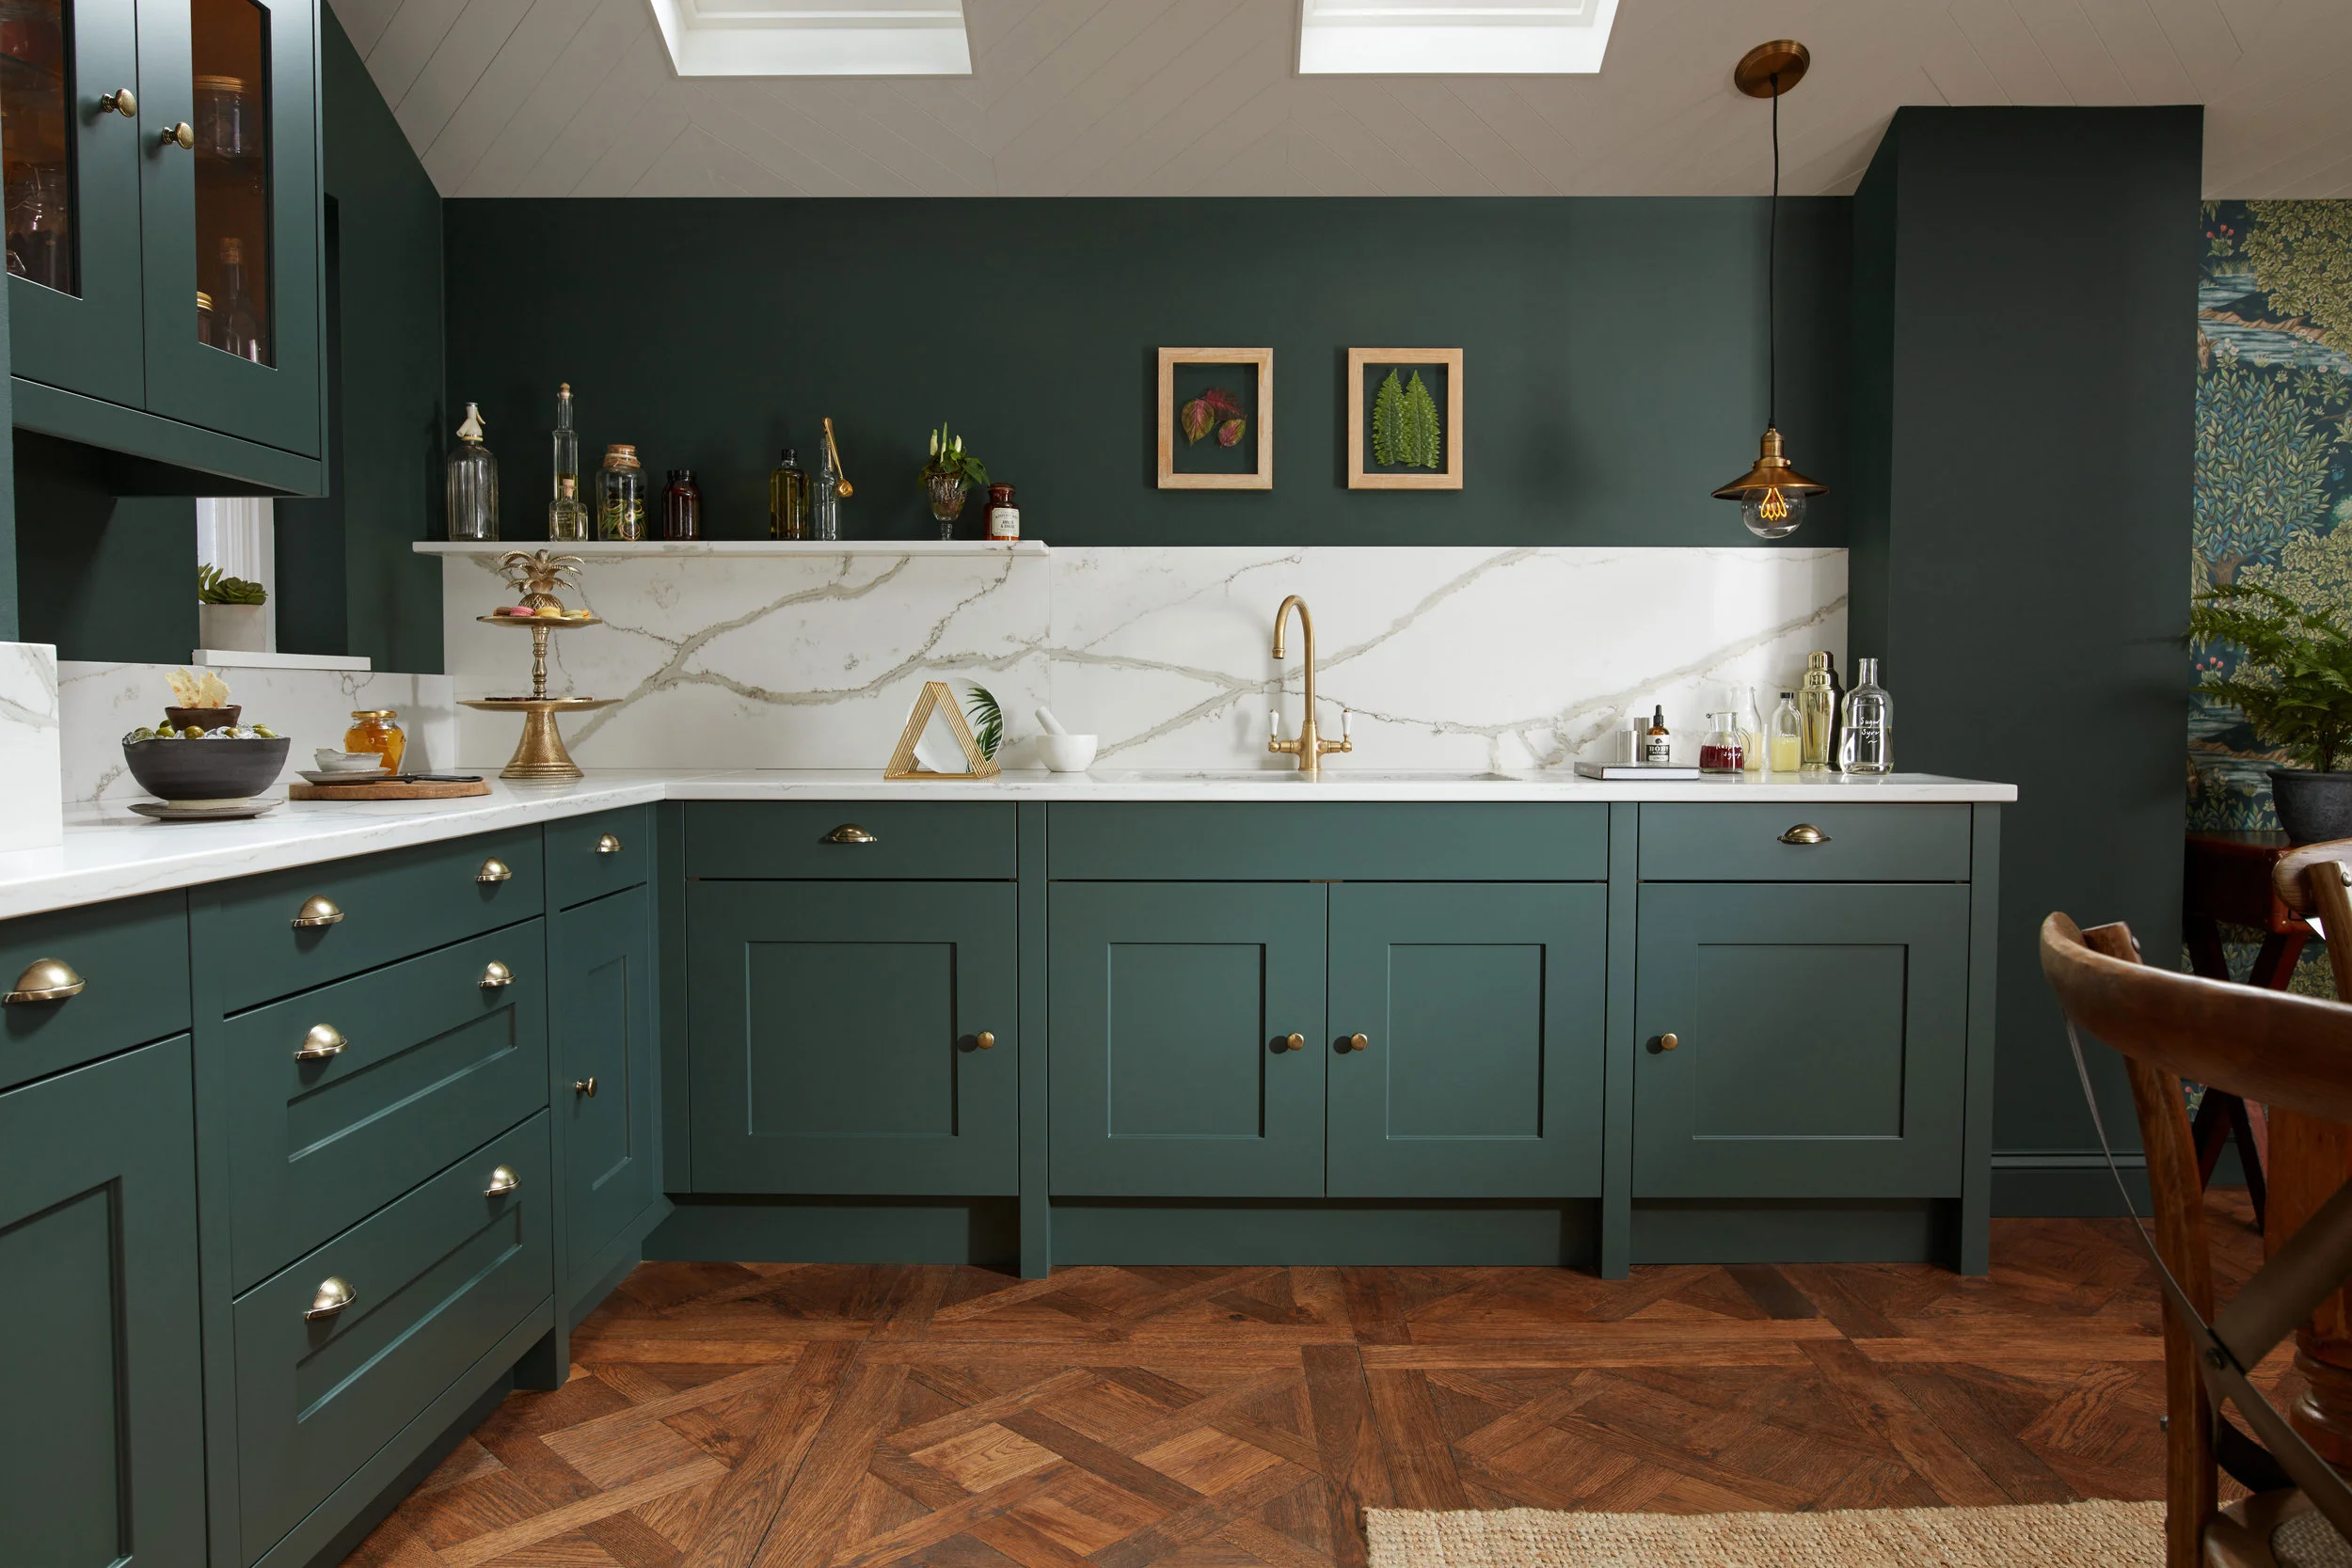
No kitchen is complete without its Quooker.

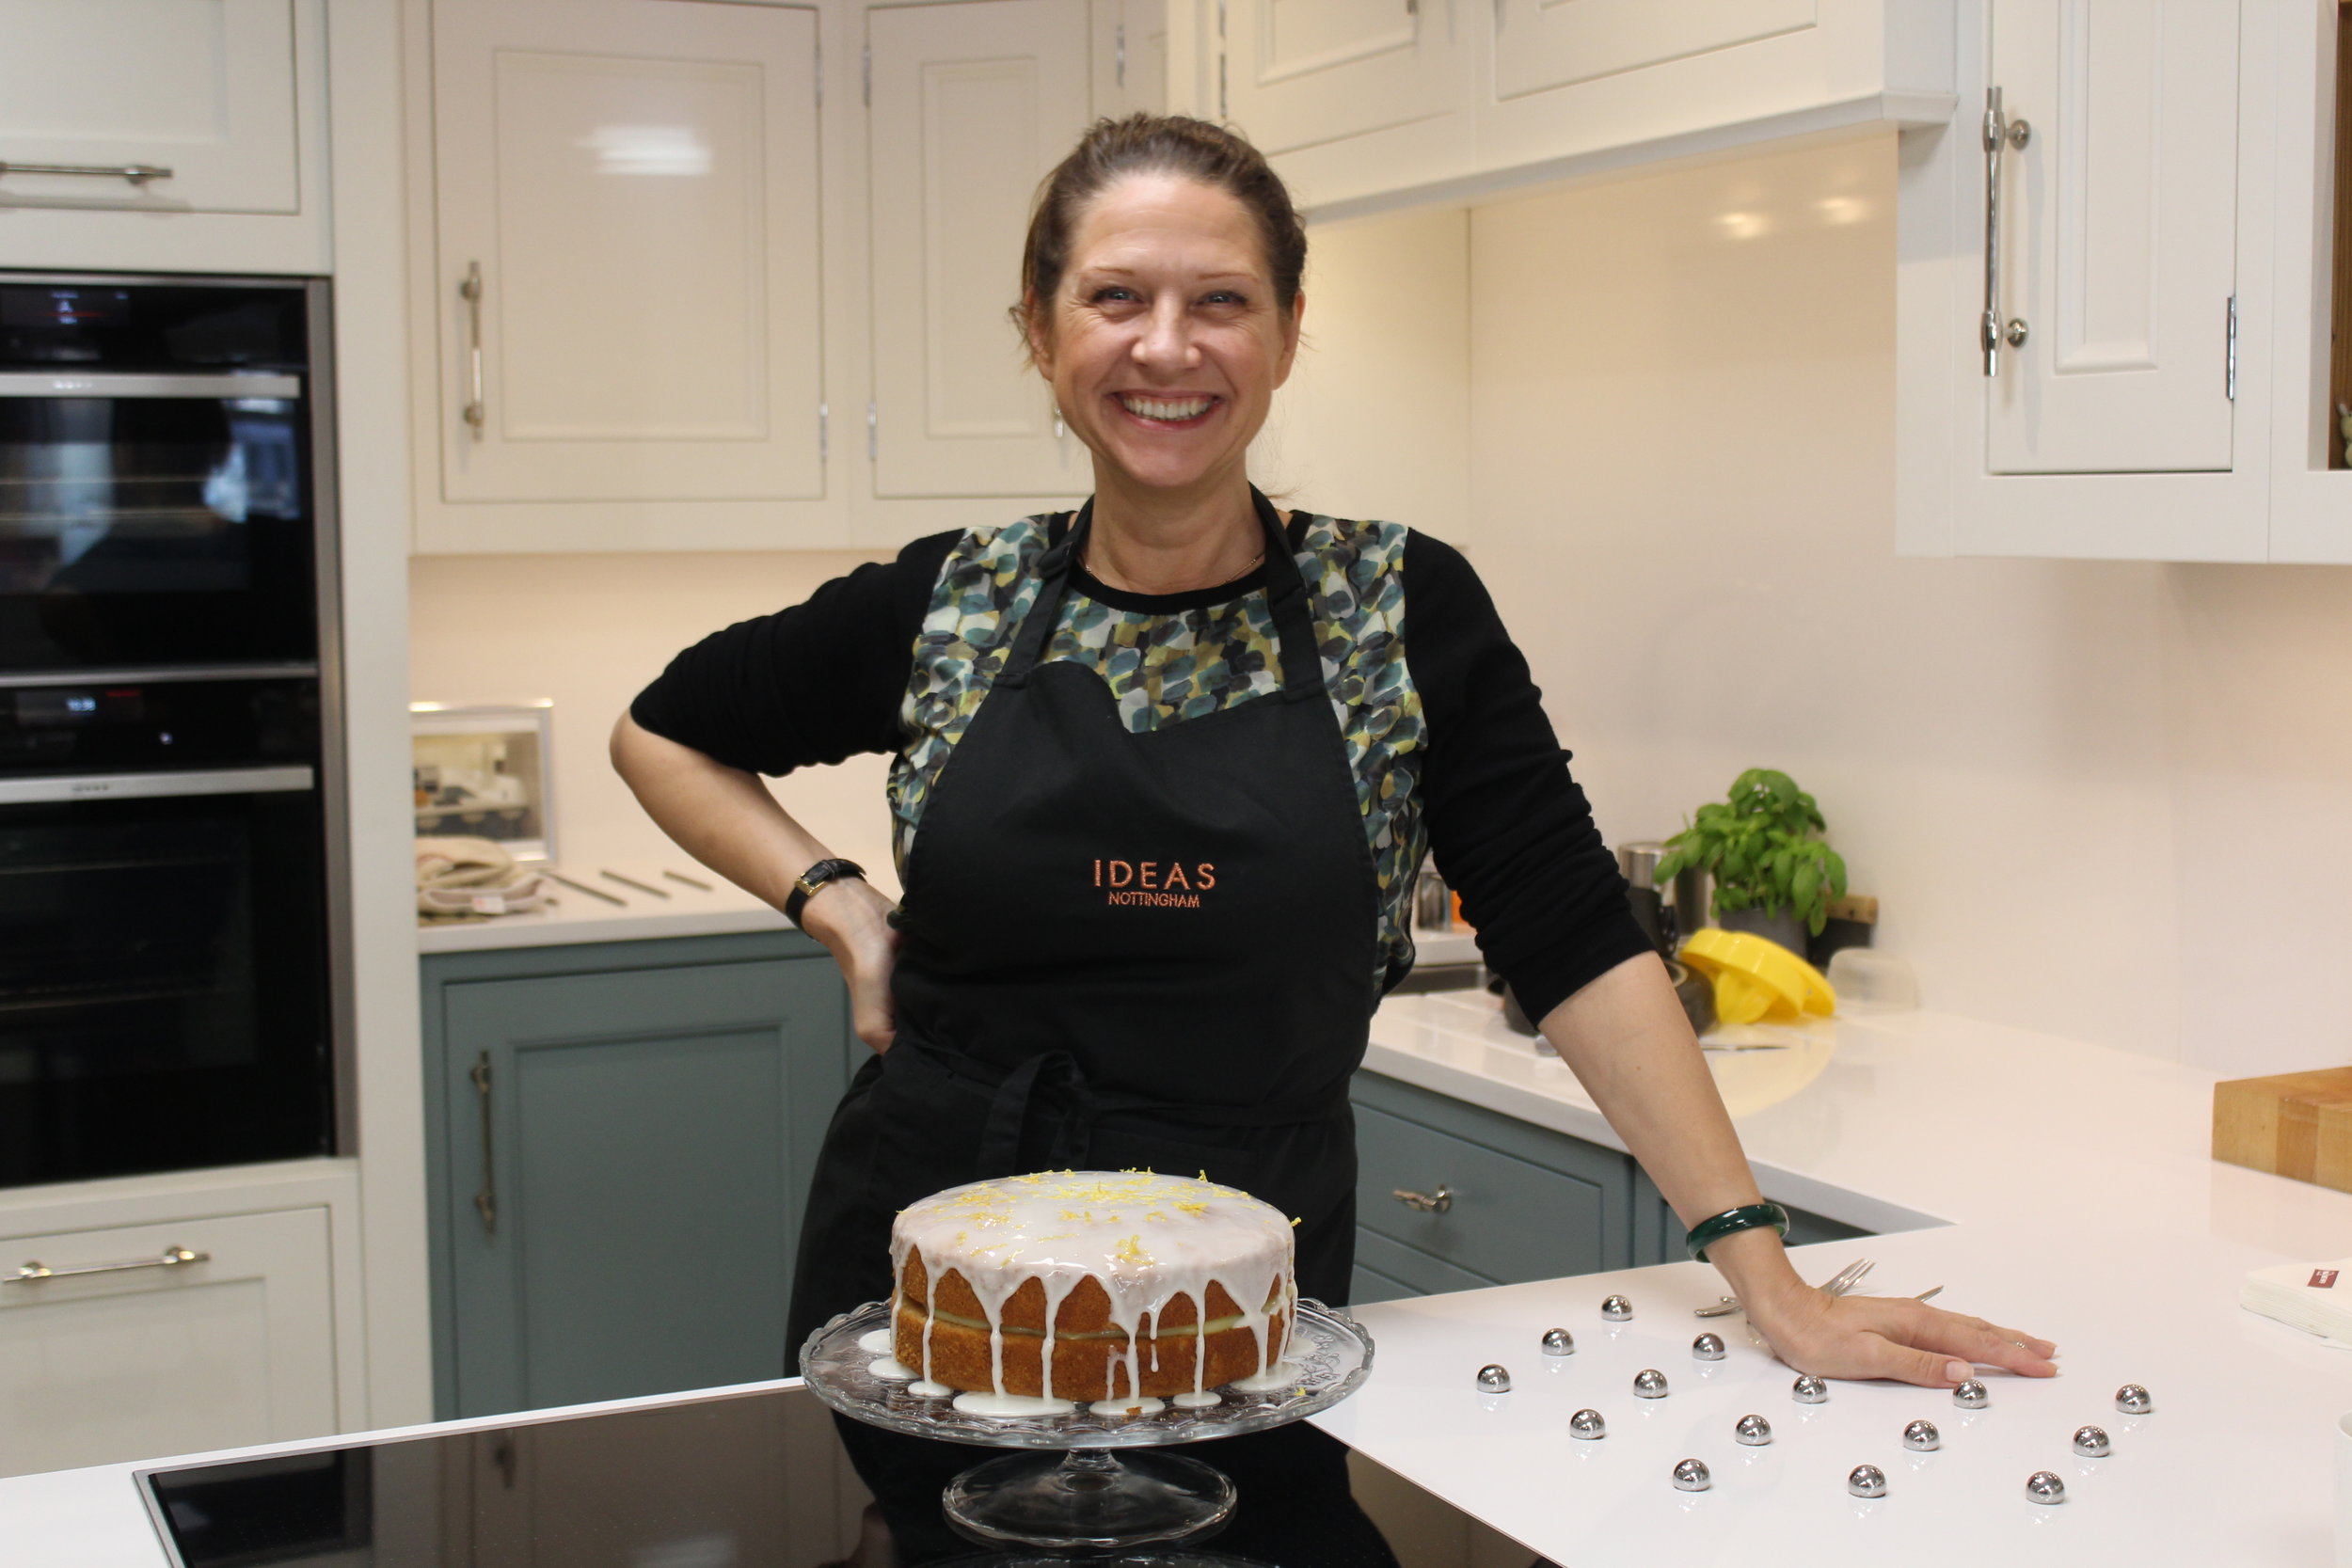
Pop into IDEAS Nottingham today to see how it works.

The Bake Off Series - Lemon Drizzle

This week the lovely ladies from our kitchen door retailer Second Nature traveled to our showroom to see Helen in action and baking one of our favorites Lemon drizzle cake! We had a lovely chat all things baking, kitchens and interior trends along with lots of tea a few slices of cake! Follow the recipe below to make your very own.

Ingredients for the cake

9oz Salted Butter

9oz Soft Brown Sugar

12oz Plain Flour

4 Eggs

2 ½ Tsp Bake Powder

3 Tbsp Milk

The rind of 2 Lemons & a little juice

Pinch of salt

Ingredients for the Lemon Curd (You could buy this also!)

• 100g (4oz) butter

•  225g (8oz) granulated sugar

•  3 standard eggs and 1 extra egg yolk

•  Juice and grated rind of 3 lemons

Ingredients For the Icing

6oz Icing Sugar

Lemon juice from 2 lemon

Lemon rind to decorate

A little water if it is too thick

Method

Step 1

Preheat your oven at 160°c/325°f, Gas No 3.

Prepare 2 20cm/8inch round cake tins with greaseproof paper.

Cream your butter with the sugar, lemon rind and a pinch of salt for 3 to 4 minutes, until appearance is light a fluffy. 

 Step 2

One at a time, beat in the eggs, adding a tbsp of flour, lemon juice and milk with each. Sieve together the rest of the flour and the baking powder, then gently fold this into the egg mixture with a large metal spoon. 

 Step 3

Split your prepared mixture in to the two cake tins and smooth the tops. Bake in the centre of the oven for 1 ½ to 1 ¾ hours.

Step 4

While the cakes are baking, it’s now time to make the lemon curd filling.

Start by melting butter over a pan of simmering water. Next, beat together the eggs and extra yolk, then combine with the sugar, lemon rind and juice.

Step 5

Add the mixture to the melted butter and cook gently (not allowing to boil) until the curd thickens enough to cover the back of a spoon. Don’t allow to overheat as this could make the mixture curdle.

Pour into a storage container and allow to cool as your cakes bake.

 Step 6

Once you’re satisfied the cakes are baked, take out of the oven and leave them in the tin for 5 minutes. Then, turn the cakes out on to a wire cooling rack.

 While they are warm, mix together the juice of ½ a lemon and a little icing sugar, and drizzle this over both cakes to keep them moist.

 Allow to go cold, then peel off the greaseproof paper.

Step 7

Spread a desired level of lemon curd on to the top of one of your cakes, then place the other cake on top, forming a sandwich.

 Next, whip up some icing using icing sugar and lemon juice to taste.

 Pour over the top of your cake, allowing to trail the outside. As a finishing touch, decorate with lemon rind.

ENJOY!

It's all about the Pantry

In the last year or so the we have had more and more requests for built in pantry or larder units on our customers kitchen Wishlist’s and we love them! They add another layer of interest to a kitchen and can include beautiful details both inside and out. They can either be built into an existing tall housing bank that includes your ovens/fridges etc or as a stand a lone centre piece in your kitchen space. Traditionally a pantry unit will accommodate beautiful solid oak side store units, which are useful for things such as spices/preserves or cereals and then inside a series of drawers and shelving units to house any other household food essentials. However, we are frequently being asked to re-think the traditional pantry to house a drinks station to include an integrated coffee machine, hot water tap or how about a cocktail pantry?! We have a few key considerations to think about if you are planning a built-in pantry:

· What appliances do you use in your kitchen the most that you would like to hide such as toasters, kettles etc, these can all be popped away in a cleverly designed pantry

· Would you make use of a spice racks and drawers?

· Solid worktop or wood inside? If you are wanting to use your pantry as a drinks station you will most probably need to have a solid worktop such as Quartz, if it is purely for food you will be fine with wood shelving, inserts and worktop

· Will you want little hands to be able to help themselves to snacks or will you want everything out of reach?

· Is there any integrated appliances you would love to have within the pantry, a microwave? Coffee machine? Hot water tap & small sink?

Our Trip To The PWS HQ

Last week Helen, Paul and Hope visited one of our kitchen door distributors PWS at their headquarters in Durham, to check out lots of beautiful new kitchen ranges as well as some old favorites. We also got to take a sneak peak of their brand new state of the art paint factory where many of your kitchens would of been sprayed!

PWS have a natural flair for thinking outside the box when it comes to design and the way they display their collection, it is really inspiring to see and gives us plenty of ideas for our own showroom displays. All in all we had a fantastic time and learnt so much about all the new ranges, we are feeling inspired and ready to tell you all about how we can help you design your ideal kitchen.

How to Budget for your kitchen

In today’s blog post we take one kitchen layout and apply it to three budgets. We get asked a lot at IDEAS what a rough quote for a kitchen at ‘X x Y’ would cost, but as explained below there are 1000’s of variables from doors, worktops and appliances to make your kitchen truly unique to you and your needs. You may just be shocked at the low starting price for many of our kitchens and we will always endeavour to price match, so if you find a quote cheaper elsewhere we will match it. Book in to speak to one of our designers today on (0115) 922 1188. So which would you choose?

Belsay Door.jpg

One - £4,400*

This beautiful shaker style kitchen is bang on trend and is shown in one of our most affordable doors we offer the new Belsay range by PWS. It is an incredible door and at an amazing price. Pair with copper or gold handles for an extra stylish touch. This price includes:

  • BELSAY door available in 4 colours (shown in Graphite)

  • Glass splashback

  • Laminate worktop

  • Carcass’s, pelmet, cornice and plinths

  • Microwave lift-up door


Porter matte door.jpg

Two - £5,300*

If you are looking for a more contemporary style for your kitchen then look no further than the Glacier door which is shown in a stunning metallic blue. Sophisticated, classy and simple we just love this look. This price includes:

  • Glacier door (shown in metallic blue)

  • Glass splashback

  • Laminate worktop

  • Carcass’s, pelmet, cornice and plinths

  • Microwave lift-up door


Broadoak paint to order.jpg

Three - £7,000*

Looking for something really bespoke? How about this Broadoak paint to order door? Choose from over 25 stunning colours or mix and match two colours for a unique style. We would pair this door with gold handles and a gold tap for a high end finish. This price includes:

  • Broadoak paint to order door (available in over 25 colours)

  • Glass splashback

  • Laminate worktop (upgrade to Qaurtz for a really sleek finish!)

  • Carcass’s, pelmet, cornice and plinths

  • Microwave lift-up door


* Please note all kitchens quoted above do not include fitting, appliances or handles and are based on specific kitchen measurements. Please contact us today to receive an accurate quote for your dream space!

*A basic integrated 5 piece appliance CDA package starts at £1,850 and basic 5 piece appliance NEFF package starts at £2,350

Tiles Vs Wall Panels?

Tiles, love them or loathe them? We have a big debate in the office on those little squares of porcelain, some of us love the feel and look a tile can bring to your kitchen or bathroom whilst others are not so keen! In this post we look at different styles of tiling and tile alternatives such as aqua panels. Which would you choose?

In recent years tiles have gained popularity mainly due to a surge in patterned tile sales, with consumers using them on floors and walls to make a bold statement in many areas of their homes. From chevron or subway to coloured grout the possibilities are endless with tiles, they are an easy way to make your kitchen unique and personal. See our gallery below for our pick of some of the jazziest tiles around.

But what are the alternatives if you are bored of scrubbing grout in between tiles? We have an increasing number of people asking us to fit aqua panels in their bathrooms and kitchens for a hygienic , easy to clean alternative. Over the past few months wall panelling specialists ‘Shower Wall’ have come up with some gorgeous new designs which rival the personality of tiles. We have chosen a few personal favourites of ours in the gallery below.

Pop in to see us at the showroom to discuss any of the products discussed today and how we can help you create your perfect home.

BLACK GEO PANEL BY SHOWER WALL

BLACK GEO PANEL BY SHOWER WALL

LIGHTING MARBLE BY SHOWER WALL

LIGHTING MARBLE BY SHOWER WALL

MICROLINE WHITE TILE BY TOPPS TILES

MICROLINE WHITE TILE BY TOPPS TILES

ILLUSION FEATURE GREY TILE BY TONS OF TILES

ILLUSION FEATURE GREY TILE BY TONS OF TILES

MARBLE HEXAGON TILE BY BRITISH CERAMIC TILE

MARBLE HEXAGON TILE BY BRITISH CERAMIC TILE

Bold and Beautiful Dark Kitchens

We may be experiencing the hottest summer for decades which is bringing us all the bright sunshine but one of the biggest trends this year is the dark and sophisticated kitchen. Think emerald green hues, midnight blues and matte black mixed with shiny metallics such as gold and copper for a sharp, bold interior look.

Be brave and design your whole kitchen in a dark hue or dip into the trend with an island or dresser in a dark colour with a lighter door elsewhere to compliment and lift the space, particularly if you have a smaller space to work with.

Another way to incorporate this trend into your space without the full commitment of a new kitchen is adding darker accessories such as tea towels, wall art or paint your walls in a deep and rich shade such as Hicks' Blue by Little Greene Paint Company for a slight nod to the trend.  

Below we have picked a few of our favourite kitchens that encompass this trend and can all be designed around your space from our showroom in Attenborough Village. What would you design? 

Second Nature Urban Heritage Porter in Matt Graphite 

Second Nature Urban Heritage Porter in Matt Graphite 

Second Nature Fitzroy in Corpse Green

Second Nature Fitzroy in Corpse Green

STYLE_2a.jpg

Chocolate & Orange Cake

This tasty and easy to make chocolate and orange cake has been perfected by Helen. Add in orange juice and golden syrup for an extra tasty and without any of the dryness of a traditional chocolate cake. It tastes amazing on a Sunday afternoon with a cup of tea and a good book!

Ingredients for the cake

-        10oz Plain Flour

-        2oz Coco Powder

-        7oz Soft Brown Sugar

-        2oz Golden Syrup

-        2 ½ tsp Baking Powder

-        4 Eggs

-        ½ tsp Vanilla Paste

-        Juice of One Orange

-        Zest of 2 oranges

Ingredients for the filling & topping

-        3oz Butter

-        6oz Icing Sugar

-        Zest of orange juice

-        ½ a jar of orange curd

-        Dark chocolate melted

Method:

Preheat your oven to 160° and line two 20cm sandwich tins

Cream the butter, sugar and golden syrup together until light and fluffy

Add in the eggs, 2 at a time adding 1 spoonful of flour at a time

Stir in the remaining flour, the coco powder and the baking powder

Squeeze in the juice of 1 orange, zest of 2 oranges and the vanilla paste

Stir together all the ingredients but be careful not to over beat

Divide the cake mixture into 2 tins

Pop in the oven for 25-30 minutes or until cooked all the way through

Whilst the cake is cooking combine the Icing sugar together along with some of the orange juice (add in as needed to get the correct consistency.) Plus a little vanilla paste.

Pop the buttercream into a piping bag (if you do not have a piping bag it is fine to just spoon onto the cake!)

Once the cakes are fully cooled squeeze the remaining orange juice over the sponges

Spoon on the orange curd over one of the cakes and then pipe on the buttercream until the cake is covered

Pop the second cake on top of the buttercreamed half of the cake

Melt a bar of dark chocolate over a low heat mixed with a little golden syrup and butter

Pour the chocolate all over the finished cake

ENJOY!